Easy to Make Your Own All Natural Pressed Mineral Powder Foundation

If my old-self knew my today-self, she'd totally point her finger and laugh at me.
First, for refusing to drink coffee creamer. Childish to some, but I don't really want to eat plastic-like food, thankyouverymuch.
Then, for making my own toothpaste. Shoot, she'd laugh at me for cutting off the ends off the tubes too, but for an entirely different reason. Not only does old-self think new-self is a bit too crunchy at times, but old-self wasn't very careful with her money.
Which is probably why new-self is cautious with her money. But that's a whole different story, for a different day.
Today though, she'd be laughing for this:
I've starting wearing food on my face.
It sounds crazy, I know, but I'm slightly traumatized and I can't turn back. There is a reason though – let me explain…
About six weeks ago, I was getting ready for church and noticed that my foundation was getting close to empty. There was still a few days worth left, but I decided to go ahead and try another tube that I had in my makeup bag. I pulled it out and noticed that the liquid portion of the makeup had separated from the solid portion.
Gross.
But this mama still needs makeup, so I shook and shook and shook that little tube until my arms got tired of shaking (it was like, a minute) and looked at it again. It wasn't completely mixed, but it looked good enough to try putting on my face.
I should have known better.
I put about a pea sized amount on my sponge and started to apply it to my face, the same exact way I do every other morning. Only this time, the make up didn't "go on." Instead, it just smeared like thick goo on top of my skin. You know how in the movies lifeguards have that thick white sunscreen on their nose? Imagine that, only something slightly resembling the color of skin.
Oh but wait, it gets worse.
I smeared the makeup face with my hands, trying to rub it in and make it better, but everything I did just made it worse! No joke, I looked as if I was putting on costume makeup for Halloween. It was embarrassing andawful. There was NO WAY I could go to church like this!
Using a hand towel, I tried to wipe off as much as I could, but that resulted in an even worse disaster! That tan-ish goo had seeped into my pores and made my face looked like it was spotted with the stuff!
Seriously, it was beyond bad.
By this point, I was starting to run out of time before we had to leave so I had to let it go. I added powder on top, finished the rest of my face and threw away the liquid.
I don't care what was in that little bottle, but there was NO WAY in the world I was EVER going to try it again. I don't care how expensive it was!
That week, I started looking into homemade foundations. I figured I had a few Sundays left of my normal foundation (since I really only wear it to church and on date nights with Mr. Crumbs) so I had some time to experiment.

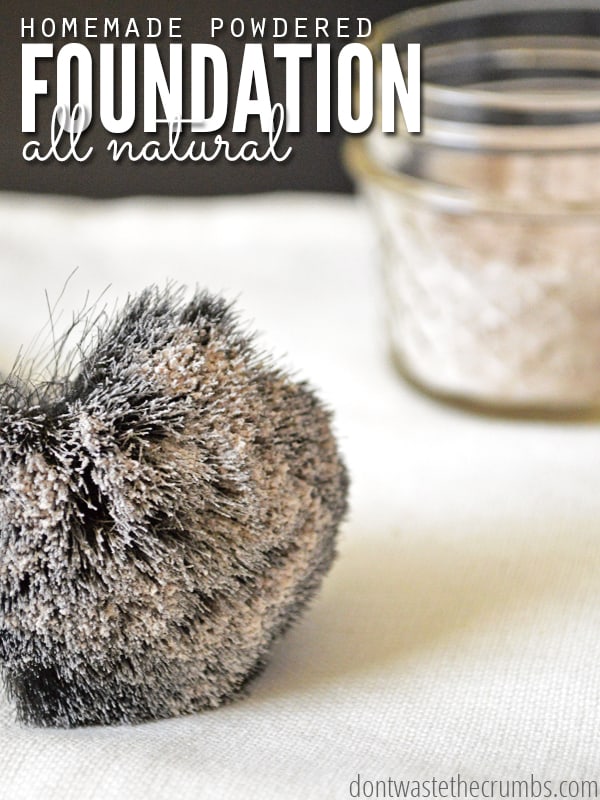
I found LOTS of recipes out there, but in the end I created a homemade powdered foundation that uses only the food from my kitchen, and it works beautifully. It's so easy to make and offers enough coverage to allow me to go grocery shopping without scaring other patrons.
Here's the list of ingredients:
- non-GMO cornstarch
- cocoa powder
- ground nutmeg
- ground cloves
- ground sage
- ground ginger
- lavender essential oil (optional)
Pretty neat, eh? MUCH better than the list of ingredients from clown-face makeup:
Water, Cyclopentasiloxane, Trimethylsiloxysilicate, Butylene Glycol, Trimethyl Pentaphenyl Trisiloxane, Silica, Phenyl Trimethicone, Magnesium Sulfate, Polyglyceryl-3 Diisostearate, Tribehenin, PEG-10 Dimethicone, Bis-PEG/PPG-14/14 Dimethicone, Tocopheryl Acetate, Sodium Hyaluronate, Glycerin, Ethylhexylglycerin, Polyglyceryl-4 Isostearate, Cetyl PEG/PPG-10/1 Dimethicone, Methicone, Tetramethyl Hexaphenyl Tetrasiloxane, Phenyl Methicone, Dimethicone, Laureth-7, Polymethylsilsesquioxane, Hexyl Laurate, Disteardimonium Hectorite, Cellulose Gum, Propylene Carbonate, Alumina, Xanthan Gum, Dimethicone Silylate, Sorbic Acid, Phenoxyethanol, Chlorphenesin. May contain: Iron Oxides (CI 77491, CI 77492, CI 77499), Titanium Dioxide (CI 77891), ILN37941.
Gosh – to think of all the years I've been willingly putting this JUNK on my face… and I wonder why I have sensitive and acne-prone skin?
Geez.
Making your own homemade powdered foundation is really easy. You start with a base powder, add some color and mix with just a hint of lavender essential oil. There is a bit of science behind it though, so let me explain that too:
Base
You can choose non-GMO cornstarch or arrowroot starch. This is the blank canvas powder that you're going to add color to. If you're allergic or sensitive to corn, choose arrowroot. If you don't have any sensitivities, choose whichever is more affordable.
Color
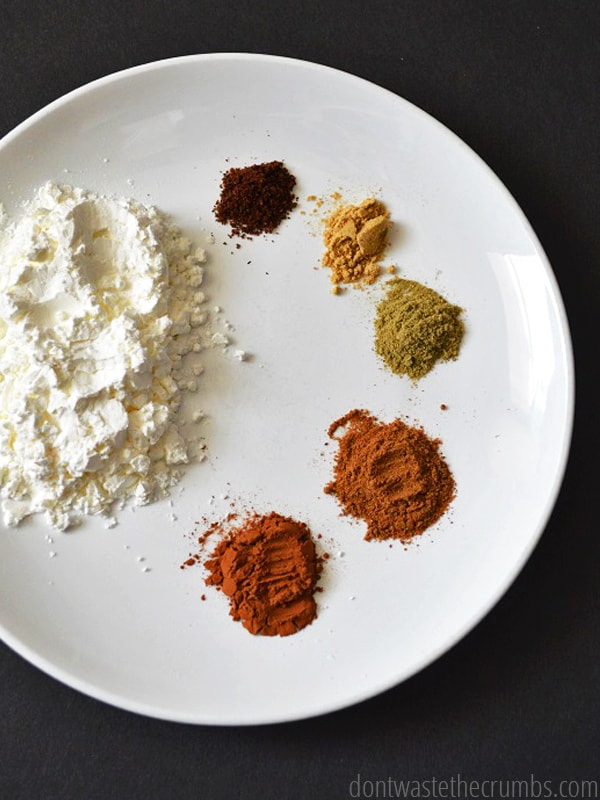
You have your choice of essentially any ground spice you can get your hands on, with the exception of cinnamon. Cinnamon is known to be irritating to the skin, so I'd avoid that one if possible. Here are the colors that will make up your pallet:
- Clove – dark reddish brown
- Cocoa powder – medium brown
- Nutmeg – light/medium brown
- Sage – green (off-sets red undertones)
- Ginger – yellow (off-sets blue undertones)
Tip: If you don't have a green spice that is ground and you need to counteract some red undertones, make your own by putting some oregano or basil or sage in a coffee grinder or blender and whiz away!
Texture
The powders alone make for a great powder, but they're not very user-friendly. As a powder should, they kinda leave behind messes during the transition from container to brush to face. Essential oils and other nourishing oils like jojoba, vitamin E or sweet almond oil help make the powder stick better to itself (and your face) so you don't make huge messes everywhere, while at the same time still keeping the foundation in powdered form.
Quantity
The quantity of the base will stay the same, but the colors will vary depending on your skin type. I'll share a basic recipe that should get you started, but you'll have to tinker with the amounts to find the right shade that's perfect for you.
It might sound intimidating, but it's really not difficult.Adjust the color using small amounts and you'll have your perfect shade in less than five minutes. Yes, it's really that easy!
Homemade Powdered Foundation

Supplies
- 2 Tbsp arrowroot powder or cornstarch
- 1/4 tsp bentonite clay
- 1/4 – 1/2 tsp cocoa powder
- 1/4 – 1/2 tsp ground nutmeg
- pinch – 1/4 tsp ground cloves
- pinch – 1/4 tsp ground ginger
- pinch – 1/4 tsp ground sage
- 10 drops nourshing oil (jojoba oil, sweet almond oil or vitamin E oil) or lavender essential oil
- 5 drops tea tree oil (optional)
Note: I really like Plant Therapy essential oils. You can find their shop here .
Method
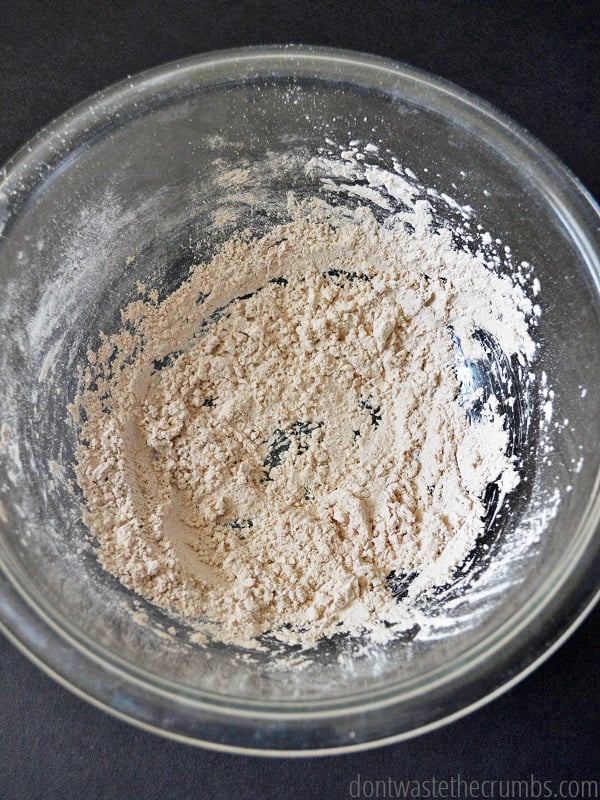
In a small glass bowl, measure out arrowroot or cornstarch. Add 1/4 tsp of cocoa powder, bentonite clay and 1/4 tsp of nutmeg. Mix well with a whisk.
Add remaining ingredients, 1/8 tsp at at time, depending on your skin tone, whisking well after each addition. Test the color by dipping your foundation brush into the bowl and brushing on your face. Adjust the color as needed.
When you've found your perfect color combination, add 10 drops of lavender oil and whisk well. If you would like additional moisture, add the optional tea tree oil and whisk well. Scoop powder into your final container and store closed.
I have very fair skin and I burn easily. When I shop for makeup, I always get the fair/light powder and concealer. My liquid foundation is usually one of the two lighter ones (whichever is more pink). Here's my perfect color combination for homemade powdered foundation:
- 1/4 tsp cocoa powder
- 1/4 tsp nutmeg
- 1/8 tsp sage
- 1/8 tsp ginger
- 1/8 tsp cloves

Storage
You have two basic options for storing your homemade powdered foundation:
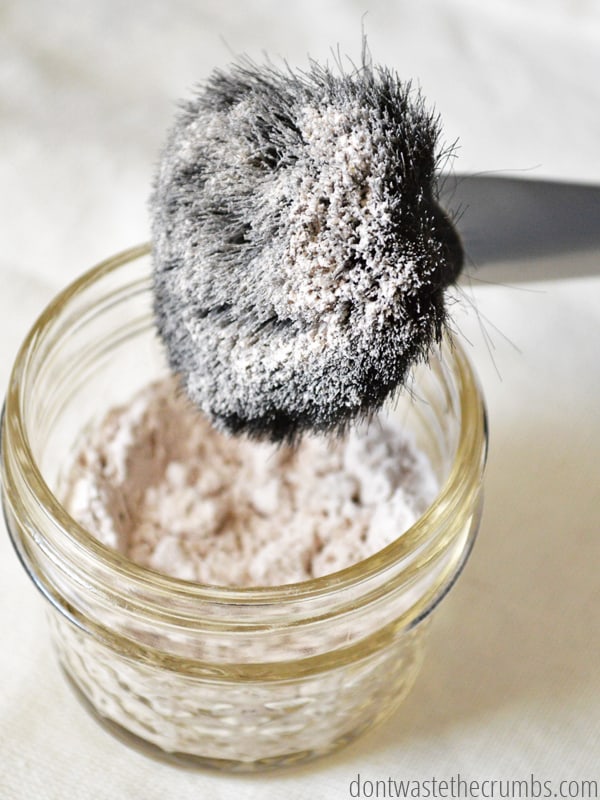
- Glass Jars – you can get these in all sorts of sizes, but you probably don't want to go any smaller than 4 oz simply because you won't be able to get your brush in the smaller jars. As you can see, this is what I use. I tip the jar over so powder can rest in the lid, and then I dip the brush in the lid before applying to my face.
- Powder Jar – these are the special jars that have the insert with little holes to help you control the flow of the powder. If you're prone to making messes, this would be your better option. They would also work well if you prefer to use powder puffs over brushes.
Cost
Here's the best part.The total cost for homemade powdered foundation? Less than 30¢. Can you believe that?! Each batch of makeup will last anywhere from 4 to 8 weeks, depending on how much you use.
There might be a small upfront investment for the oils if you don't have them, but once you do, the small amount of each ingredient per batch means you can literally make your own makeup for one full year for just $3 – less than the cost of a grande latte! Gosh… to think of all the money I've spent on makeup over the course of my life, lol. At least this is one toiletry item that won't be making a big dent in our grocery bill!
More Ways to Heal & Care for Your Body Naturally, at Home
- Reset high blood pressure with a 10 day water fast
- Remove a Mole with Apple Cider Vinegar
- How to Heal a Spider Bite with a Potato
- Homemade face lotion bar
- Homemade clay-based toothpaste (just like Earthpaste)
- Homemade Tinted Moisturizer
- Heal acne naturally
- Heal gum disease naturally
- Homemade facial cleanser
- Homemade shampoo bar
- Homemade liquid herbal shampoo
- Homemade lip balm and lip scrub
- Secret to healthy teeth & gums
Have you had any makeup disasters recently? I'd love to hear them. 🙂 Plus – would you consider taking a baby step and switching to homemade powder?
bonnerprucapterse.blogspot.com
Source: https://dontwastethecrumbs.com/homemade-powdered-foundation/

0 Response to "Easy to Make Your Own All Natural Pressed Mineral Powder Foundation"
Post a Comment